Installation & Getting Started
Downloading & Installtion
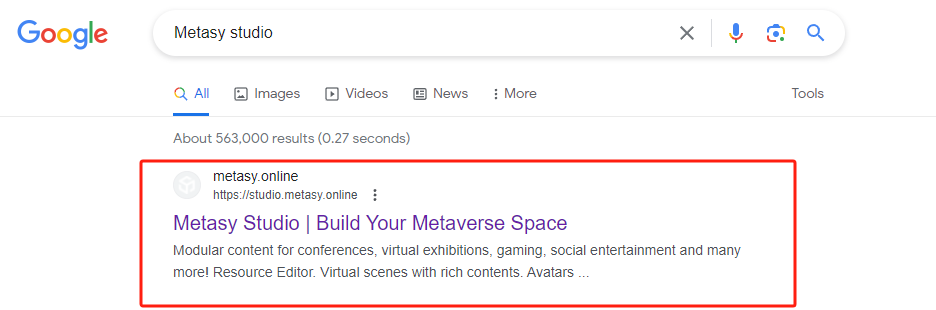
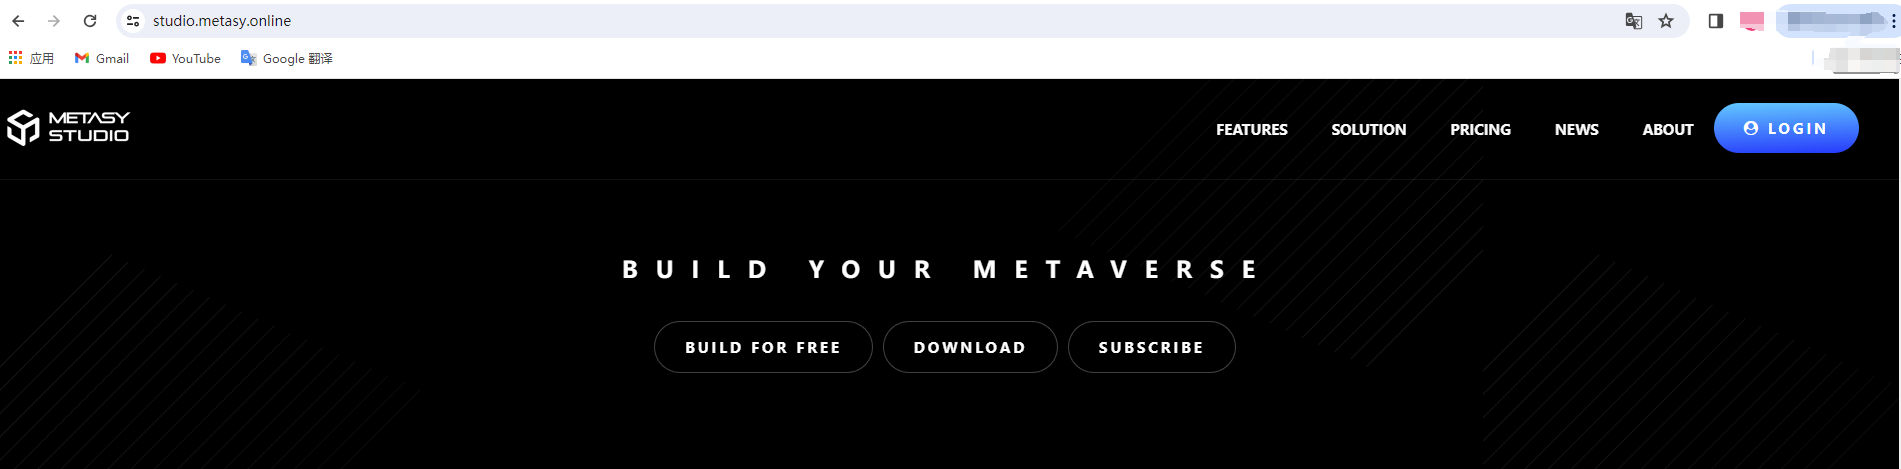
Search for Metasy Studio on Google (search engine), or visit the official website.
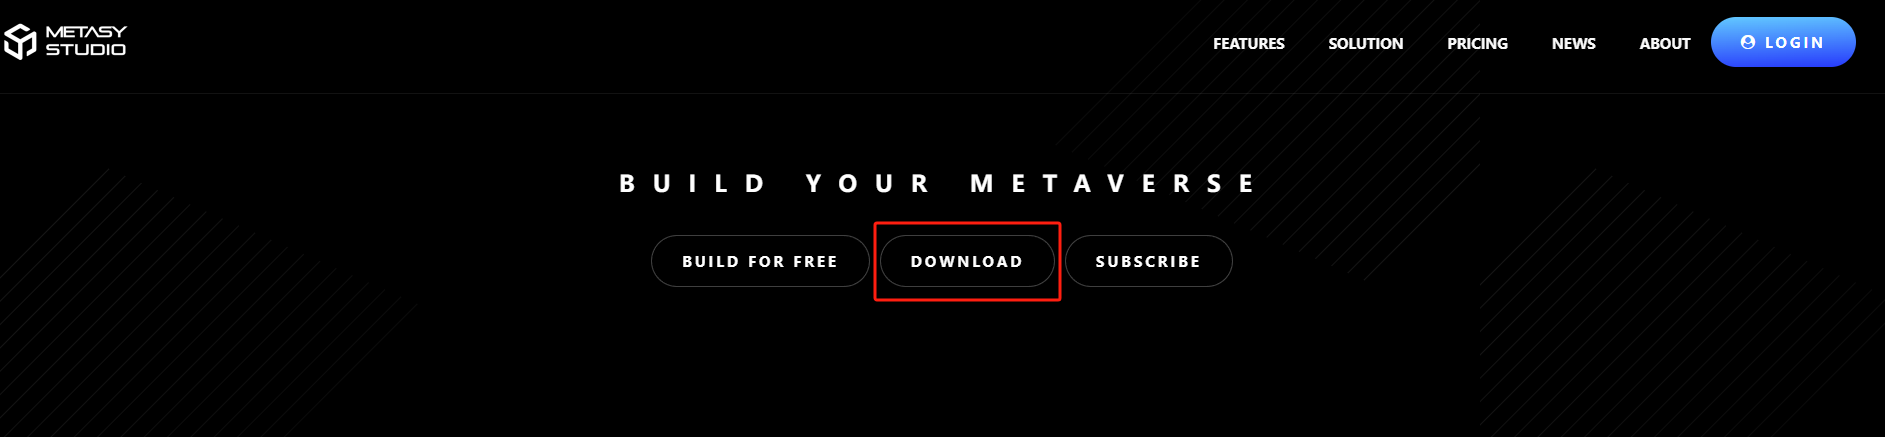
Click on the "Download" button.
System Requirements
The following system specifications are required for Studio to run smoothly:
Windows (64-bit) – Windows 7, 10, or 11. For Windows 10 or earlier versions.
Processor - A processor with a clock speed of 1.6 GHz or higher.
RAM – 8 GB of system memory.
Hard Disk - At least 20 GB of available disk space after installation.
Graphics Card - A computer with a dedicated graphics card that is no more than 5 years old or a laptop with an integrated graphics card that is no more than 3 years old.
Internet Access - At least 4-8 MB/s to keep Studio up to date and to save projects to your Metasy account.
Locate the Studio zip file in the browser's download history.
On Windows, the file is named Metasy Studio.zip
After Studio is installed, a pop-up confirmation window will appear. Click the Start Studio button.
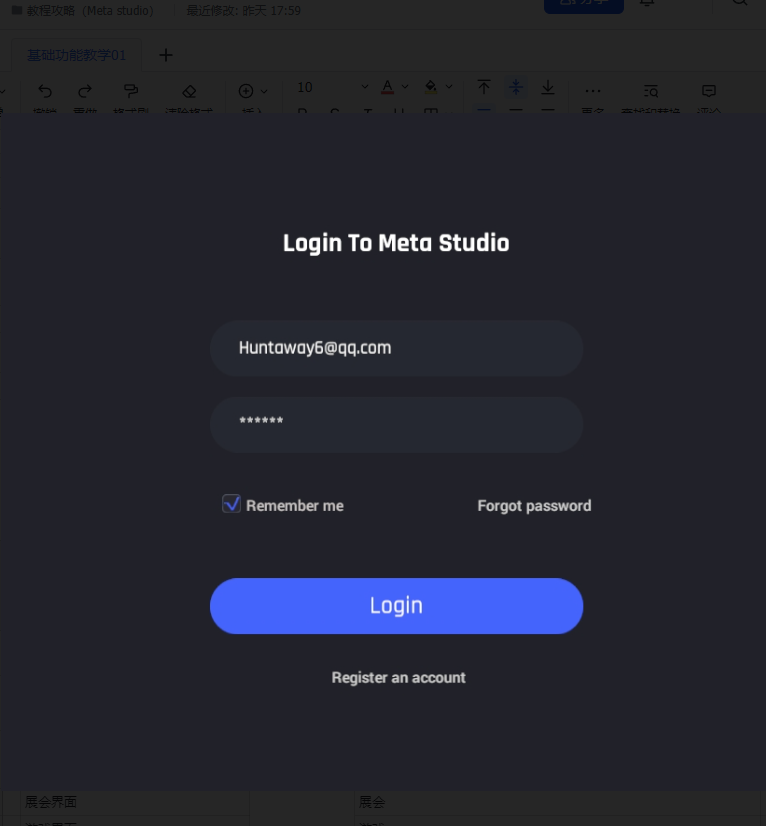
Log in to Studio with your Metasy account. If you don't have an account, you can create one on metasy.online or directly in Studio. When creating an account, follow the prompts to protect your account security.
Possible issues during download and installation:
Installation gets stalled on the resource update screen
Check the installation steps.
Restart the editor.
Reinstall.
Installation failed
Permission issue, you can try running as administrator to see if it can be resolved.
If some antivirus software scans frequently, try uninstalling the editor, then disable the antivirus software (note that some antivirus software may still run background processes, which can be tricky) before reinstalling.
If the installation path contains Chinese characters, it may also cause this problem.
No response on the login screen
Check your internet connection and make sure you are connected to the internet.
Disable any network proxy software.
Restart the editor.
Creating Spaces
Project Creation Interface
On the left side, there is a menu bar containing featured themes. These can be used for reference and learning about different types of scenes.
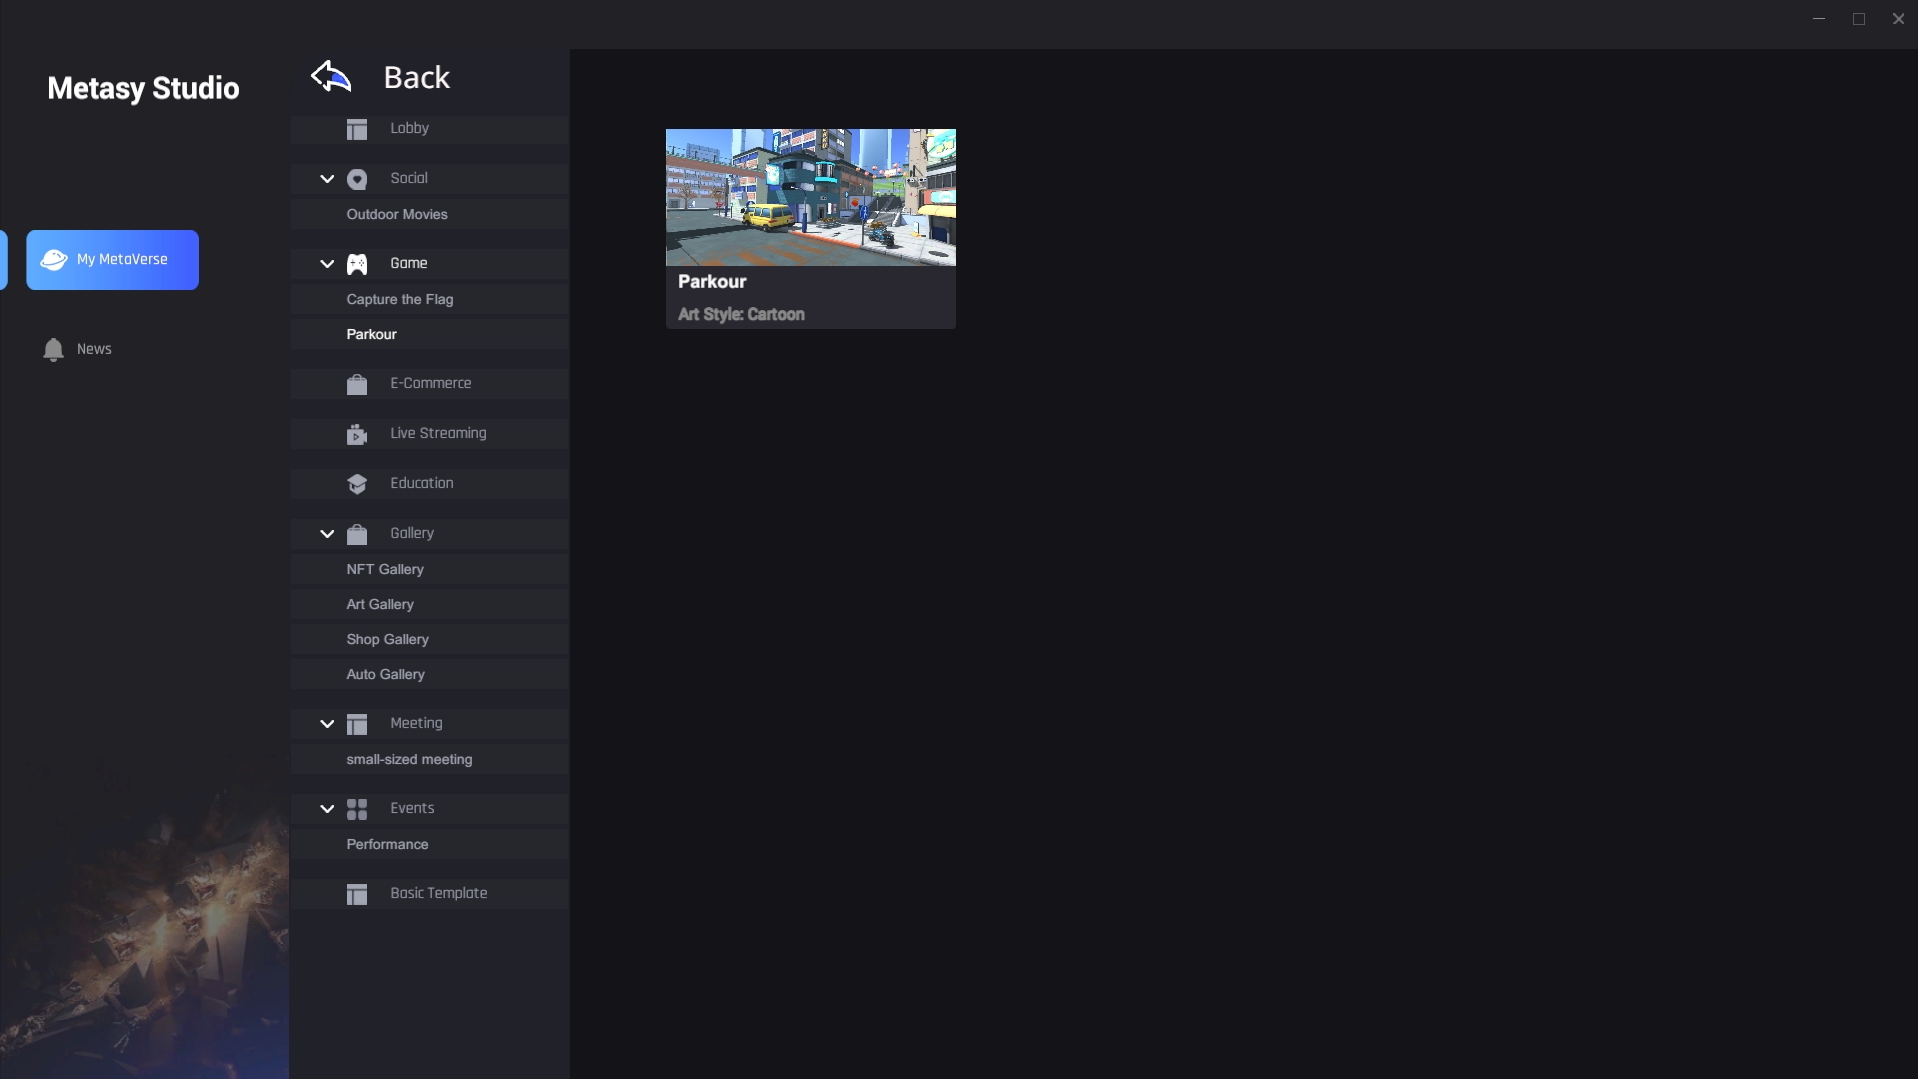
Open one of the scene map (taking the basic map as an example):

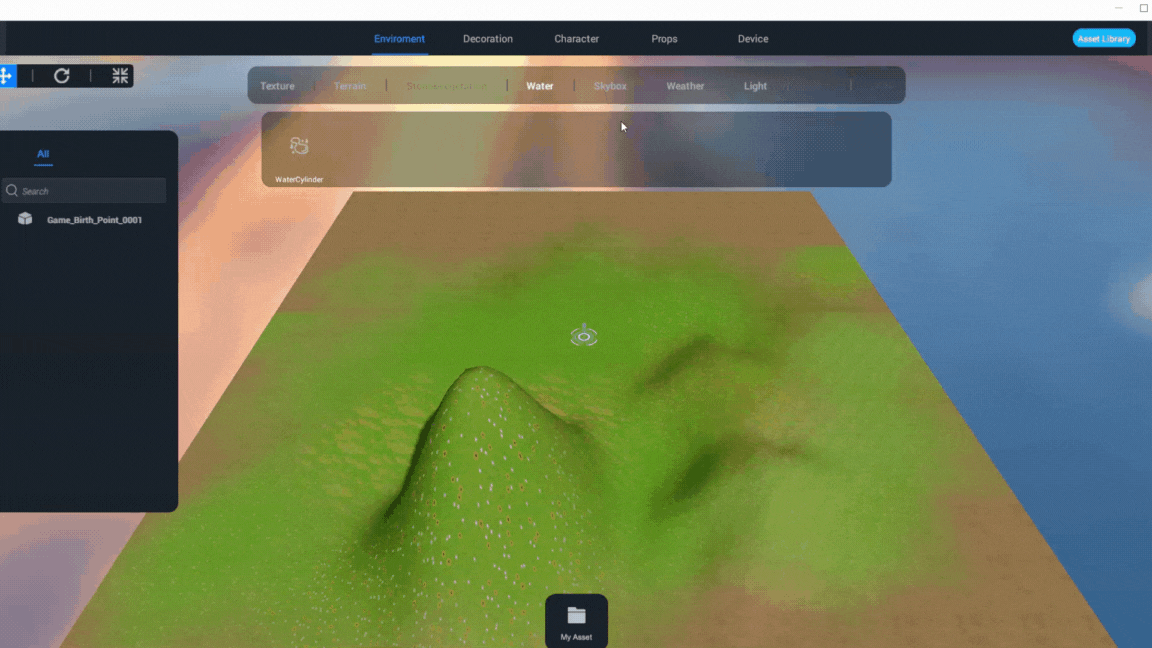
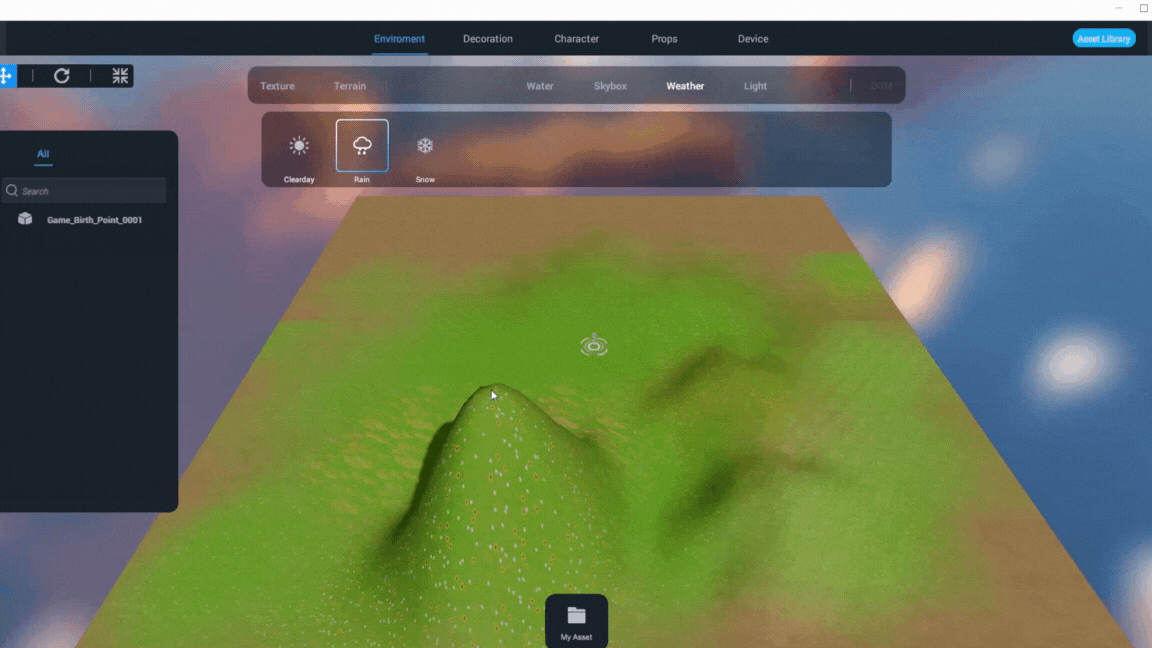
Environment includes: Textures, Terrain, Rocks/Vegetation, Water, Skybox, Weather, Lighting
Texture settings: support one-click switch of ground effects, area mouse switch effects, custom textures, size settings (change within a certain range).

Terrain settings: ground relief, sea level;

Rocks/Vegetation (requirement phase)
Water bodies
Skyboxes
Weather
Lighting
Filters
Sound Effects
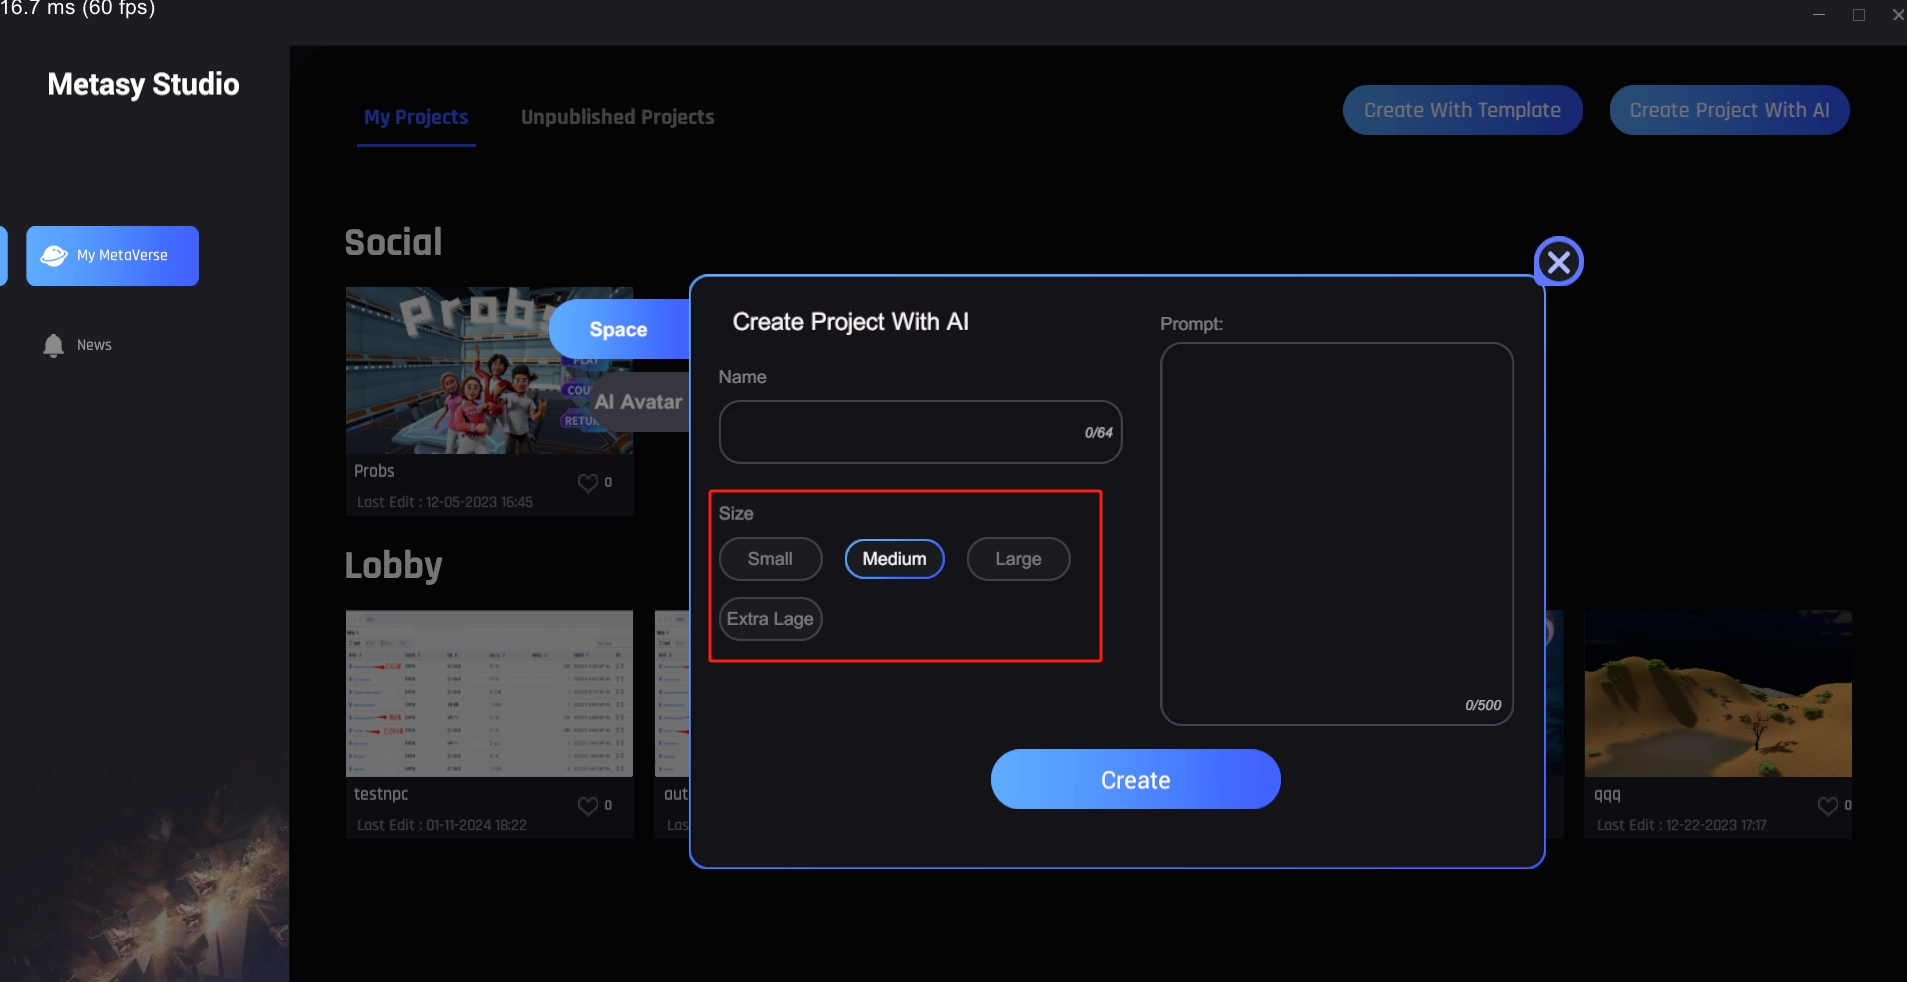
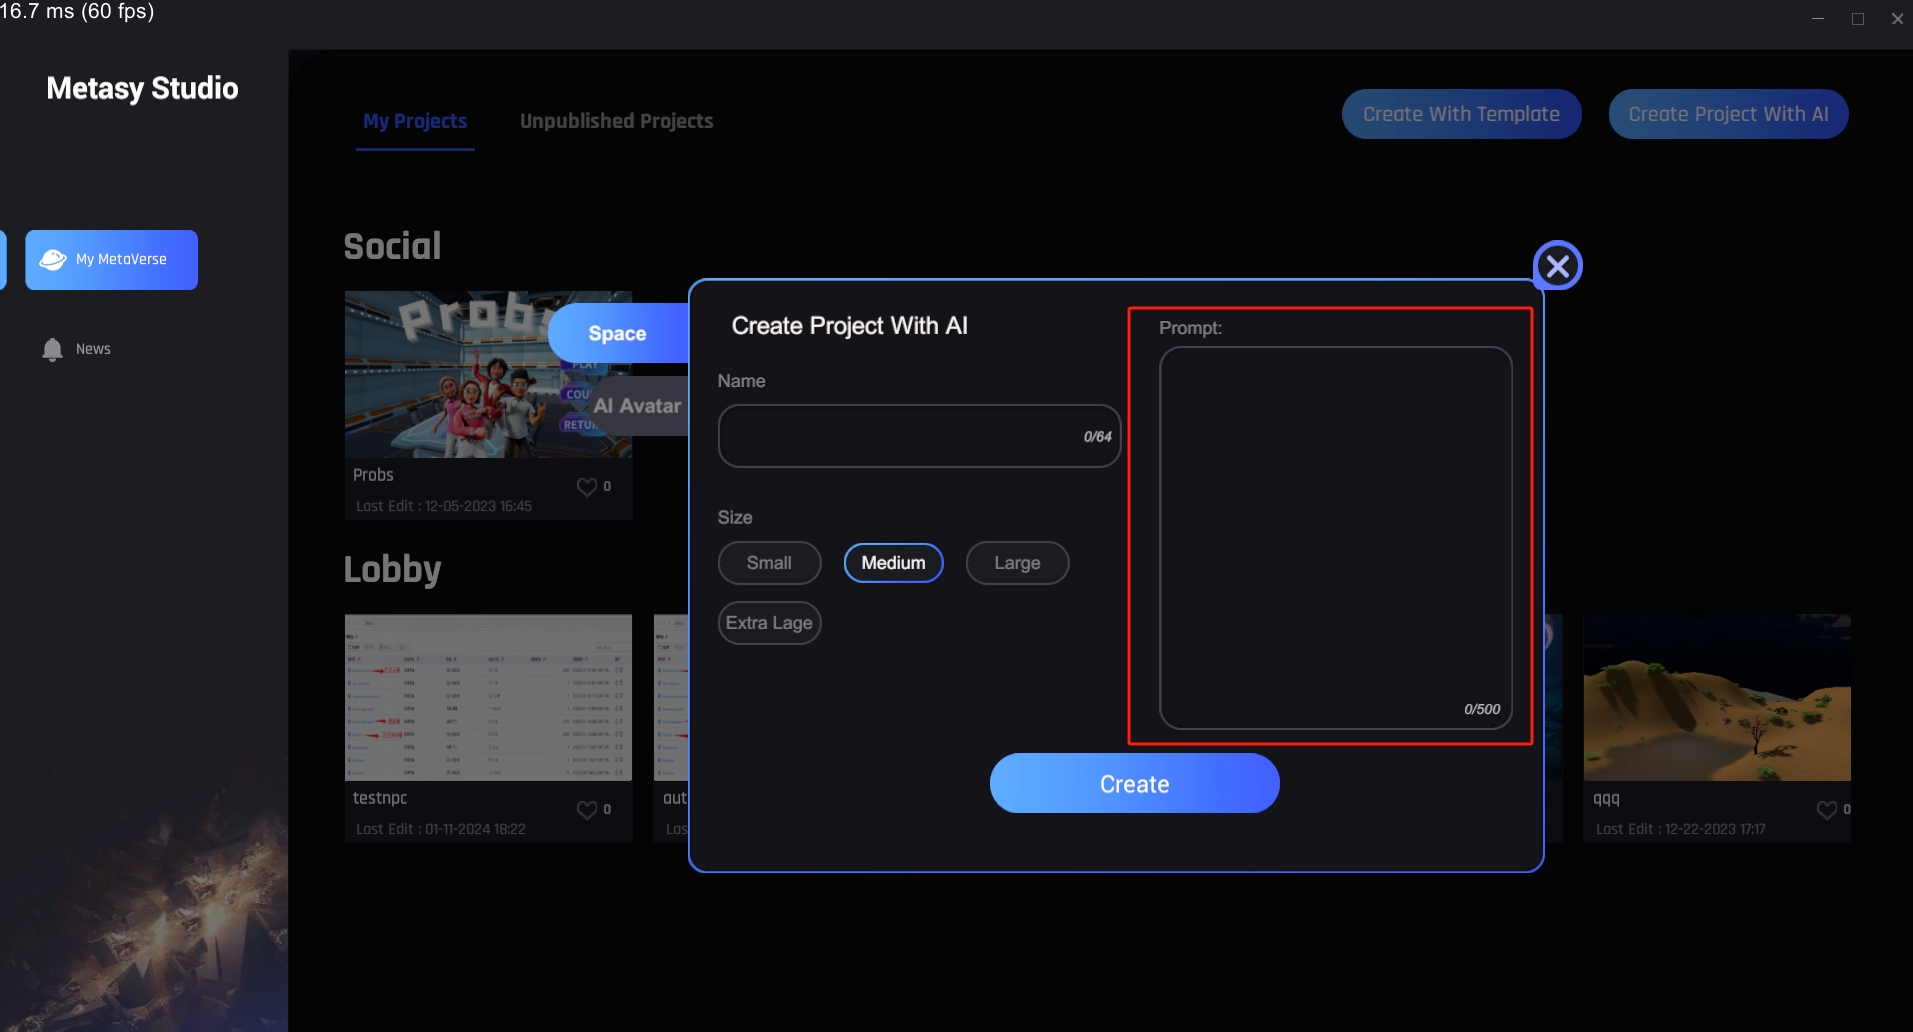
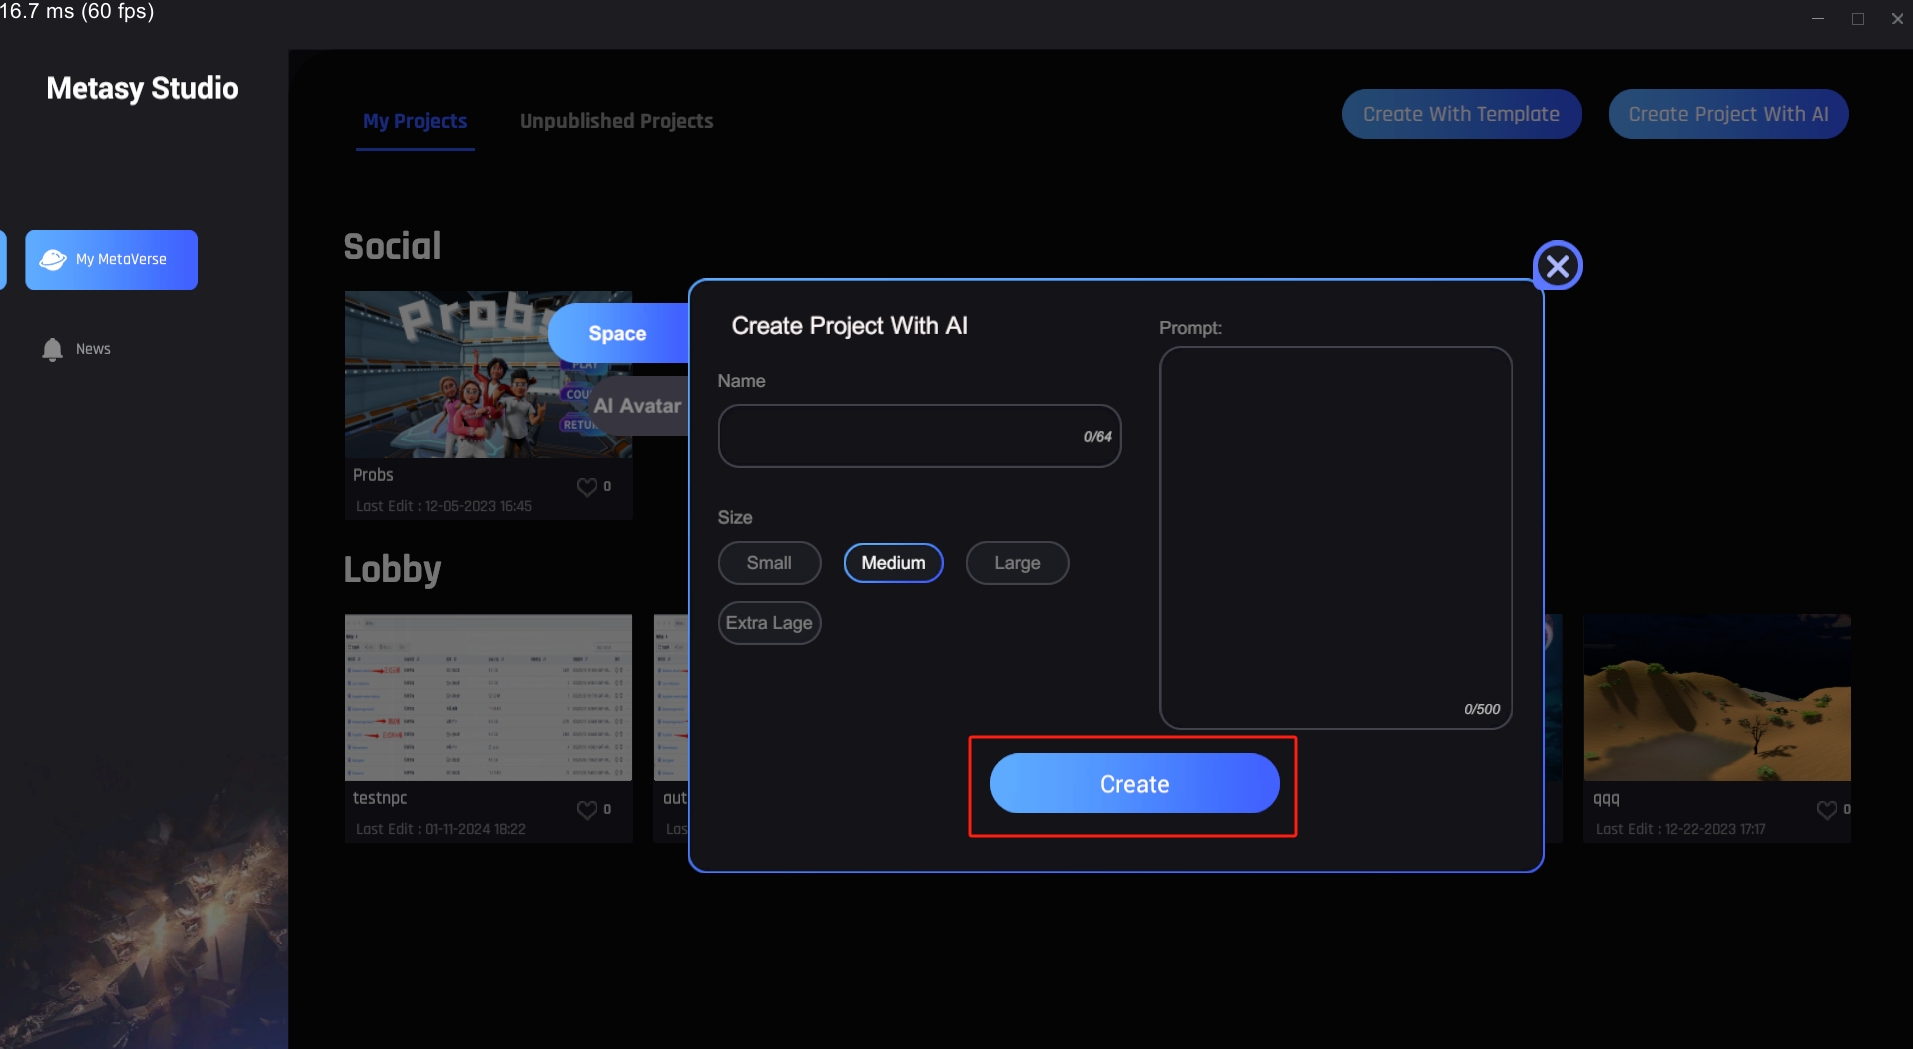
Creating Spaces with AI
"Create Project With AI" is a unique feature of the editor, where AI automatically generates your map scene based on your requirements.
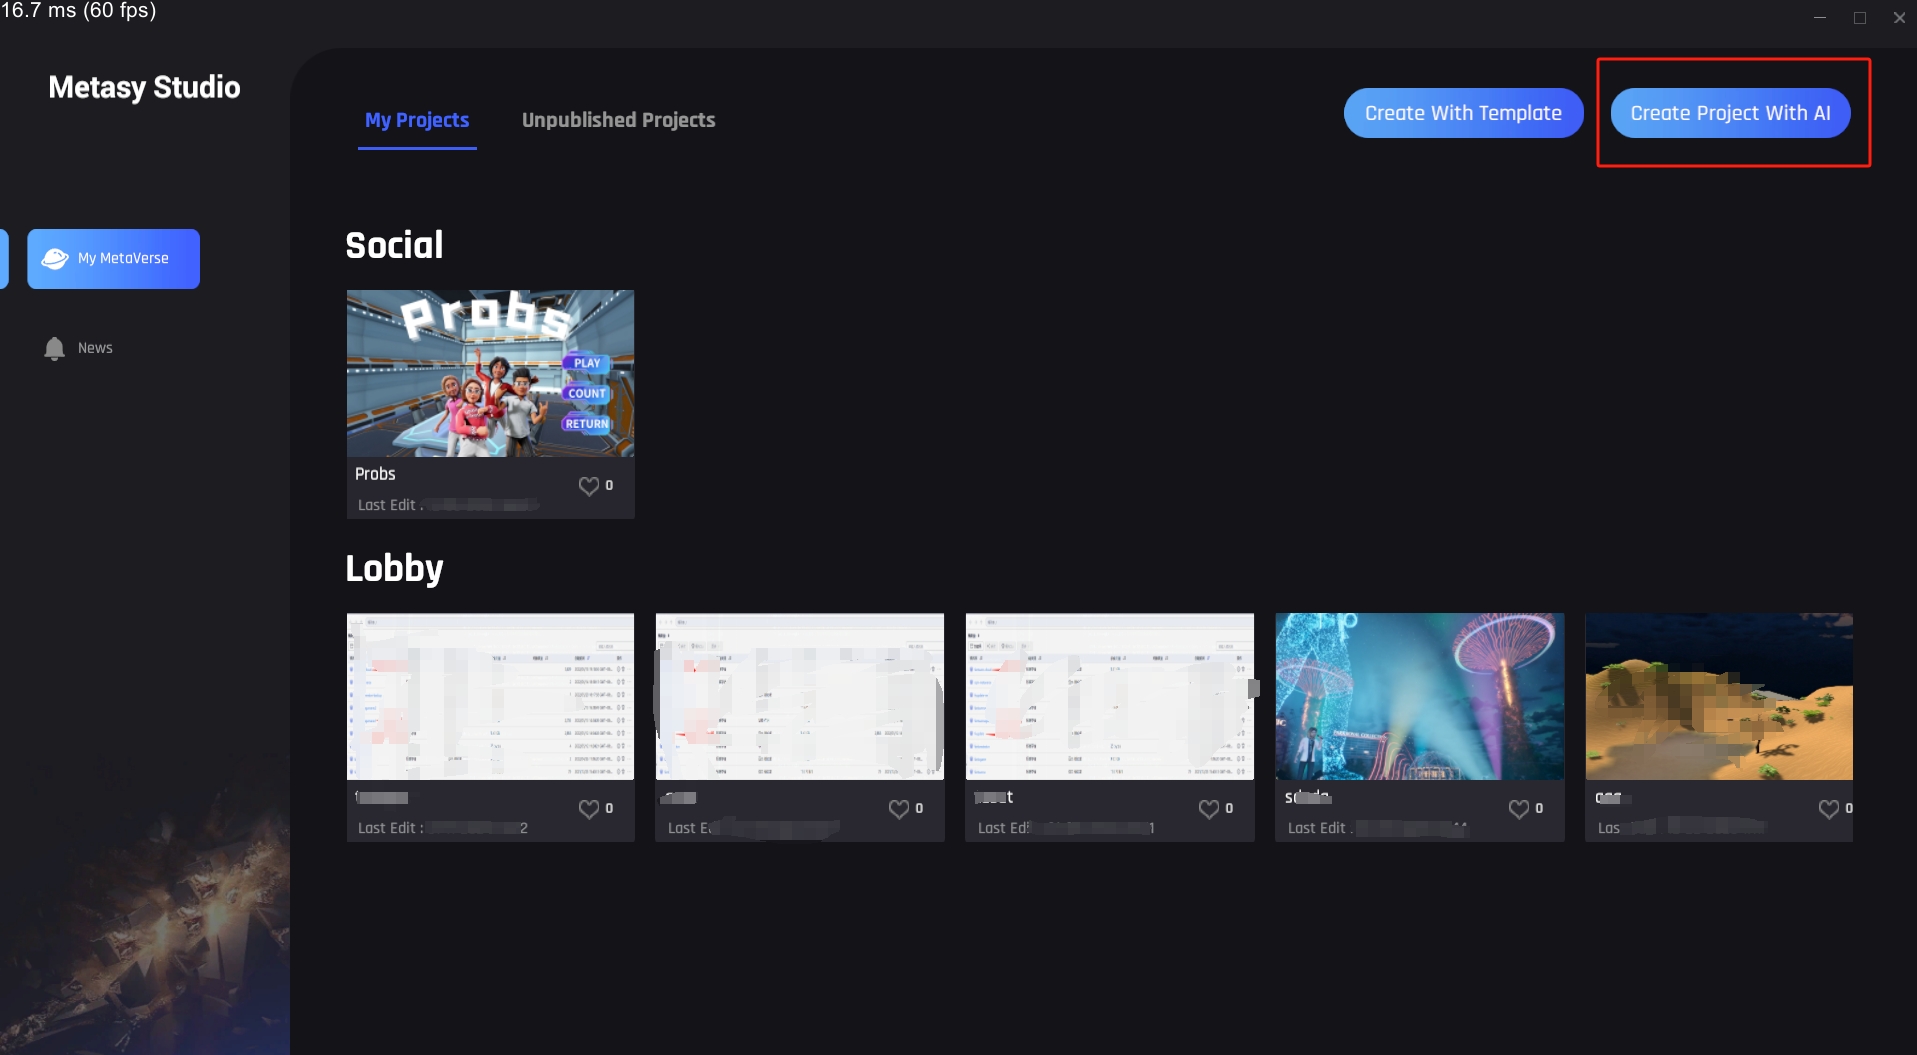
Click on "Create Project With AI" and enter the information for the map you want to create:
Set "Space Name"
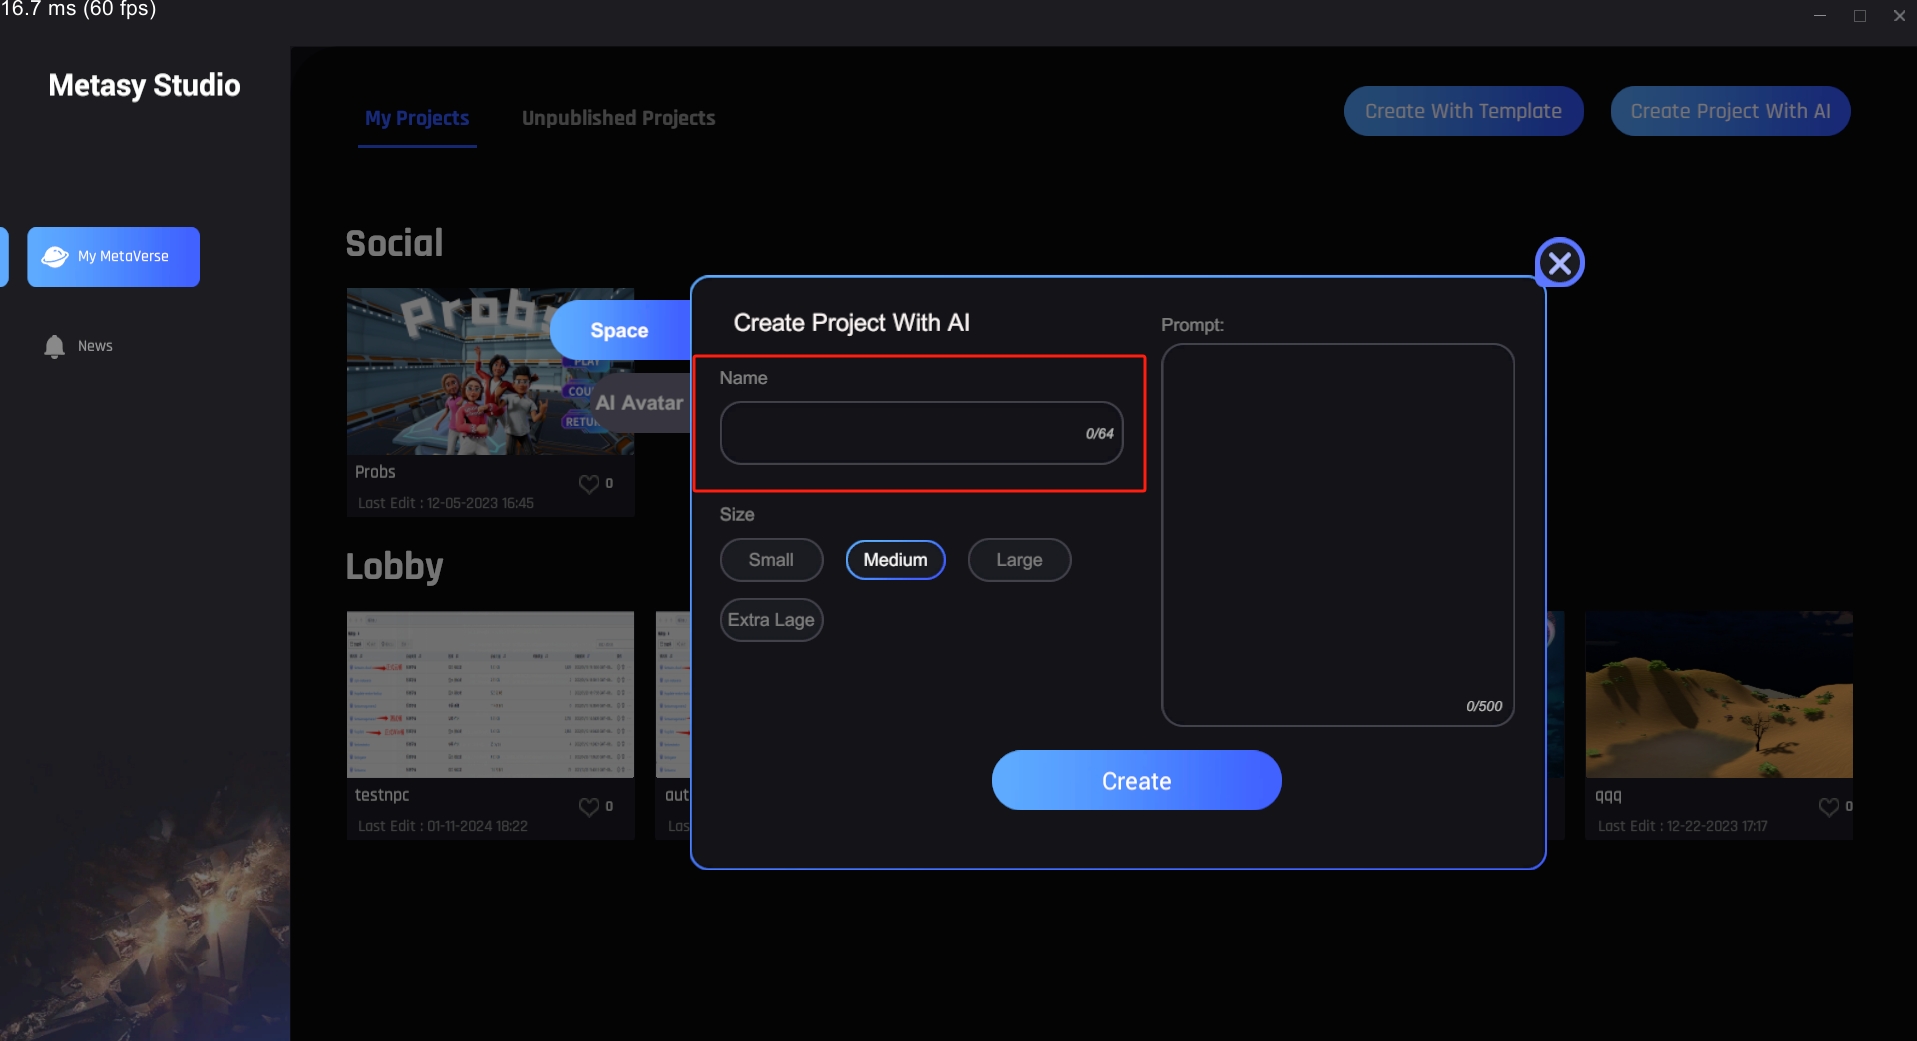
Set "Space Size"
Set [Prompts/Keywords]: used for creating scene descriptions.
Click [Create], and AI will automatically generate the desired scene space.
Building Scenes With Basic Templates
This chapter mainly introduces how to use the materials provided in the toolbox.
Open the Basic Template on the landing page

You will be able to that the toolbox currently contains many existing materials.

Animals

Plants

Nature

Surface

AI-Agent
This section mainly introduces how to add digital humans in spatial scenes, with the following two methods available for adding digital humans:
Adding digital humans via AI generation
Click on "Create Project With AI"

Click to enter the UI interface, set the "Name", "Size", and "Prompt" for the AI-created Space.

Set the "AI Avatar Background" for the AI Avatar, then click "Create".

Press the F5 key to run your space. When your avatar approaches the AI digital human, an "chat ICON" will appear on the interface.

Click on it to start communicating with the digital human based on the background information you entered for the AI digital human.
Adding Digital Human To Your Space
To add digital humans to your space, enter the space scene you created and click on "Character" --> "Universal" to display many AI digital human models.

There are numerous AI digital humans for you to choose from.

Select the digital human you want in "Universal", then click on the location within the space scene where you want to place them; if the position is off, you can locate the "Move" icon in the "Toolbox" to adjust it.

In the "Project Manager", locate the AI digital human you added (usually at the bottom), left-click to pop up the "Properties" UI.

In the "Properties" UI, click on "AI Chat", then click on the "Edit ICON".

An AI Chat interface pops up, fill in the information according to the interface prompts, and click on "Set" when finished.

Press the F5 key to run the space scene, and you can start communicating with the digital human based on the background information you entered for the AI digital human. When you're out of ideas, AI Chat will be a great assistant!
Editor Settings (Requirement Phase)
Language Settings: Studio defaults to English as the system language but allows you to change it to other supported languages. To change the language, search for the language options and select your desired language. Restart Studio to reflect the changes.
Theme Settings: Studio has light and dark themes. If your operating system supports light and dark modes, the default option will reflect your system mode. To change the theme, search for "theme" options and select "default," "light," or "dark."
Script Editor: The built-in script editor has multiple configuration options. Common configurations include: font, tab width, text wrapping, script editor color presets.
Last updated