Interface Introduction
Landing Page
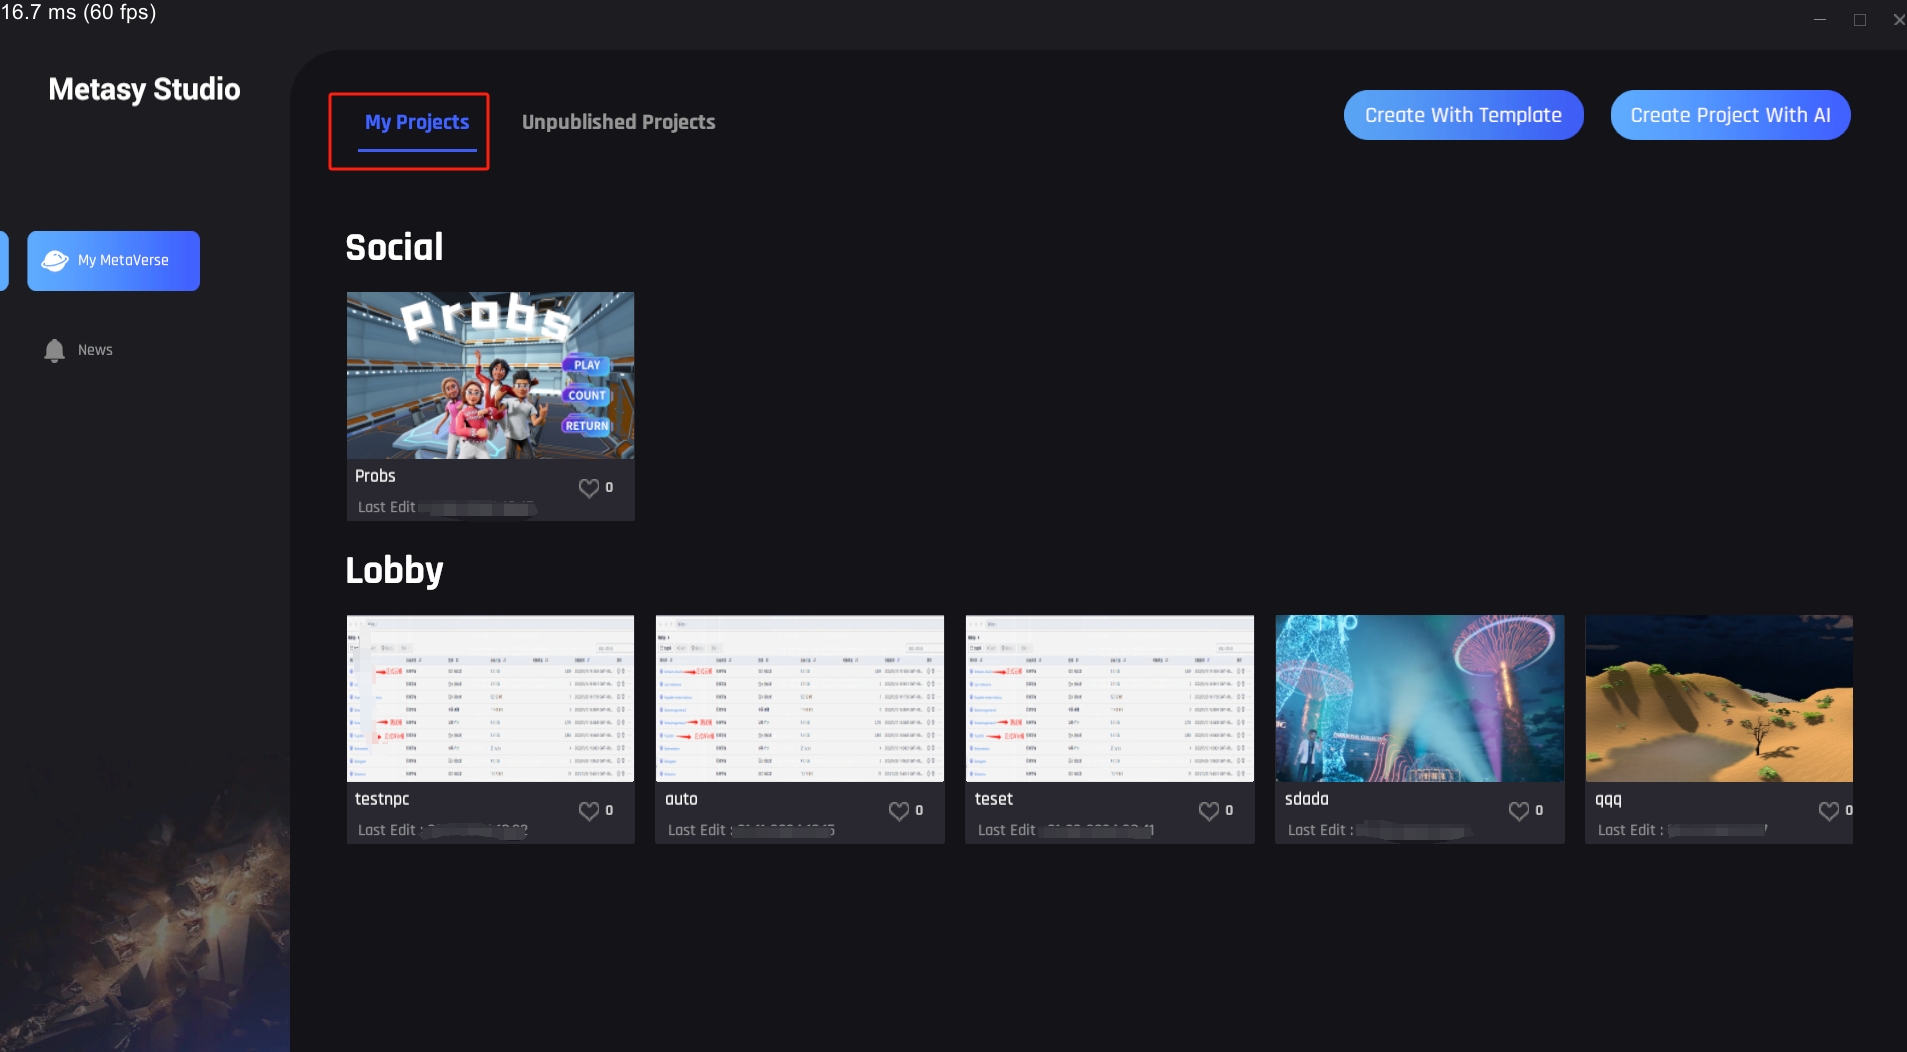
Open the Editor and you will see two tabs: "My Projects" and "Unpublished Projects".
My Projects
Scenes currently published.
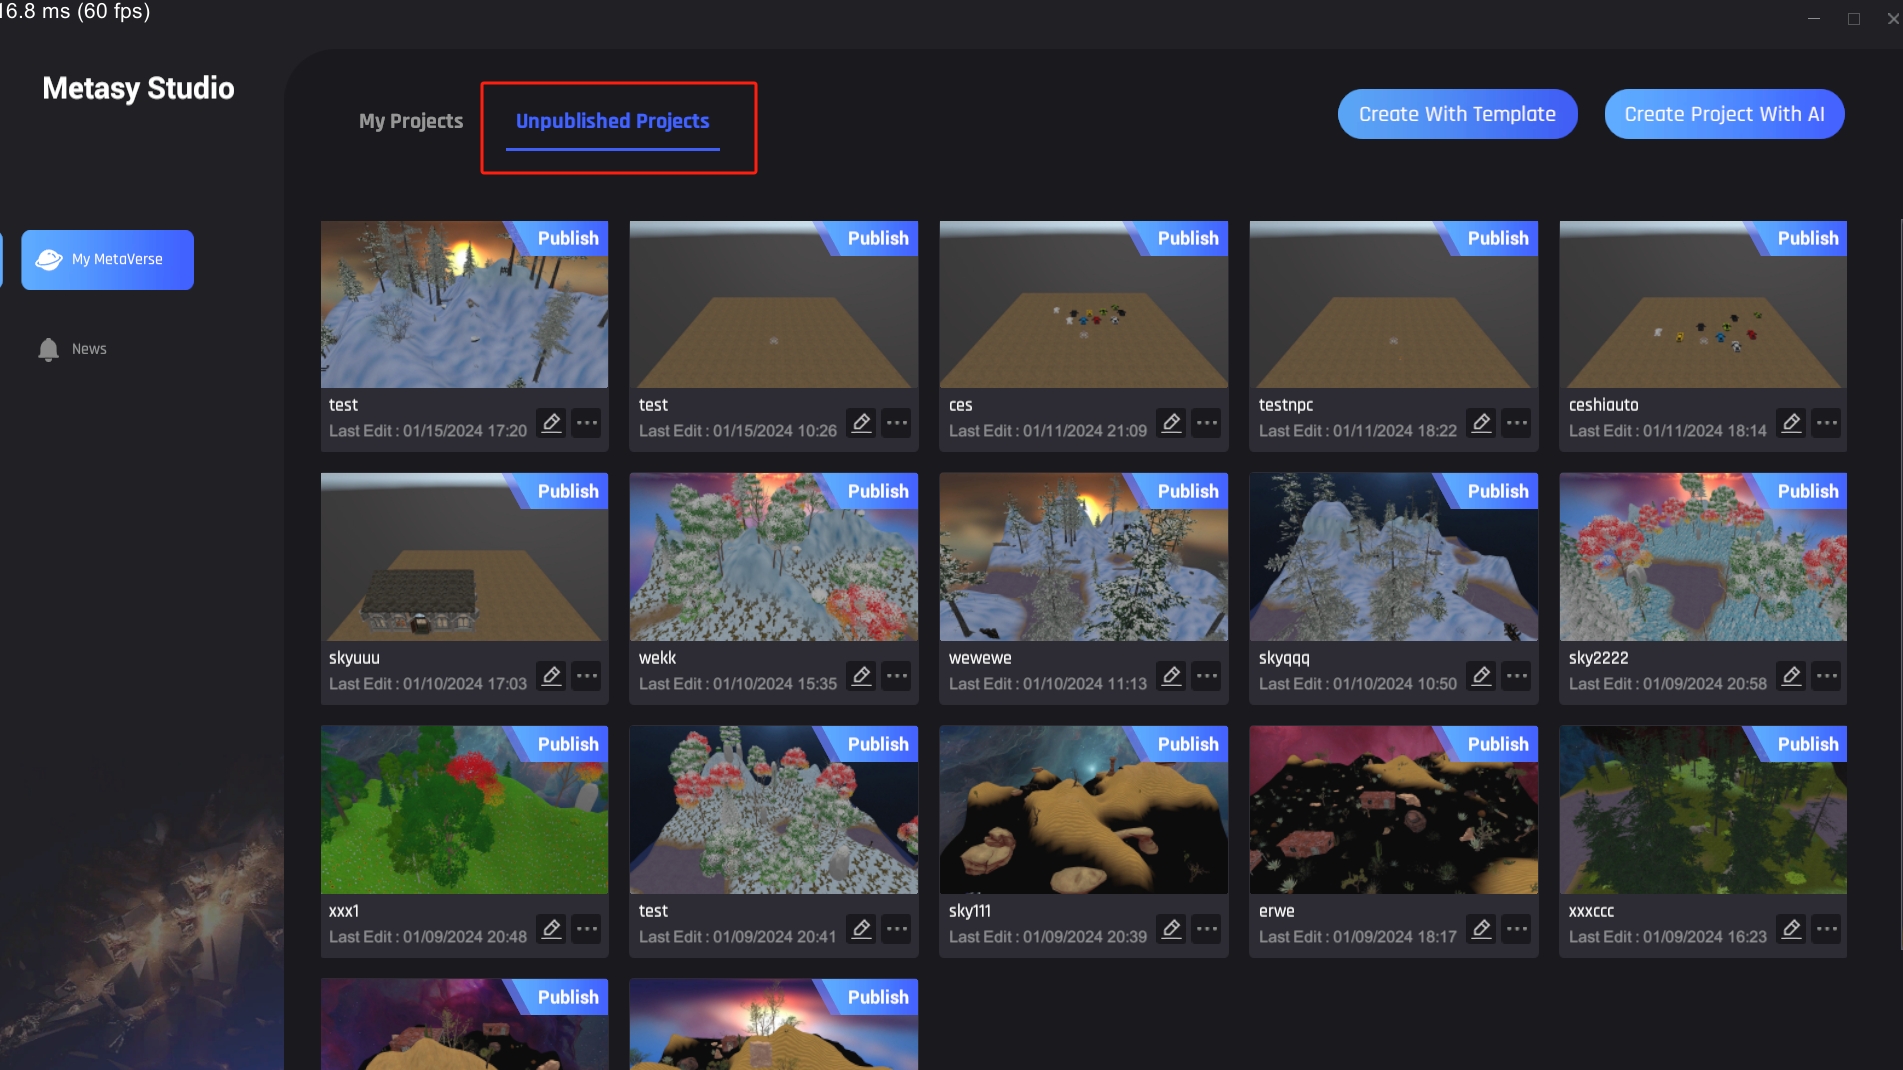
Unpublished Projects
Unpublished scenes from the works currently being created.
Scene modification and management (Requirement phase)
The main content involves iterative updates and information editing settings for already published scenes.
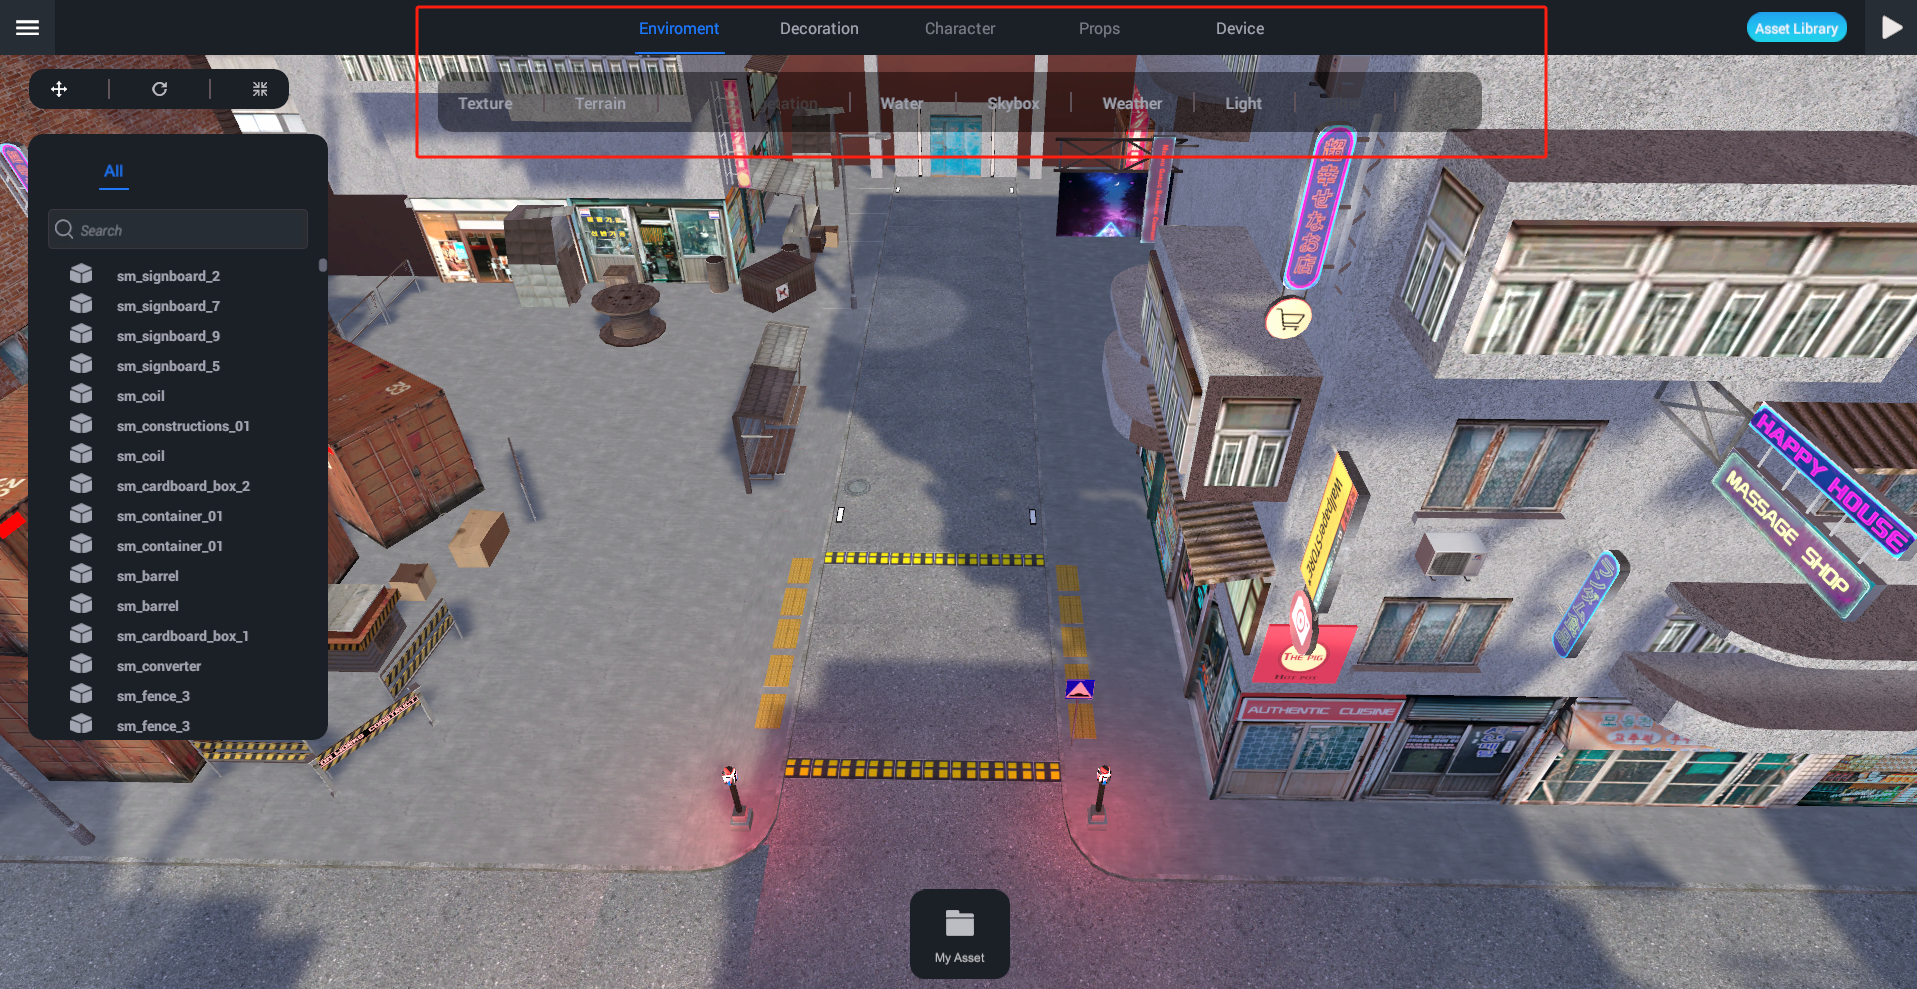
Studio Main View
The menu primarily includes: Toolbox, Properties, Project Manager, Command Bar, and Output Box.
Toolbox
Most contents in Studio are based on cloud service assets, each with a unique corresponding ID. For example, Texture、MeshPart and Sound instances reference image, mesh, and audio resources through their respective TextureID、MeshID and SoundID properties.
When importing asset objects, they must pass an audit check before users can view and interact with them in the 'My Assets' experience. After the Unity SDK approves the imported assets, you can choose to retain their usage rights on the platform or make them public, as detailed in the asset permissions.
My Assets
This includes personal published materials, characters, models, images, etc. Generally, you can view them in the 'My Assets' section of the editor or find them in the asset store after importing. There are two types of assets:
Assets that exist as objects in the data model, such as models and meshes.
Resources used as object properties, such as audio, images, fonts, and videos.
Please refer to the table below for more information on these two types of scene resources, such as where and how to use them in Studio.
Video
The object displays video resources through its whiteboard, showcasing the properties of the video.
Model
The Model is a container object for geometric groupings, such as BaseParts, MeshParts, and other Model objects. Models can also contain objects like scripts. Whenever you group objects together in Studio, they automatically become a Model object.
Mesh
MeshPart is a part object that contains a custom mesh with physical simulation.
BGM
The Sound object is an object that emits audio when an audio resource ID is applied to its SoundId property. The placement of the Sound object within the data model alters the way and location the sound is emitted in the experience.
Images
Images are used in various ways in one place, including as textures/decals on parts, UI elements, mesh textures, textures for custom materials, textures for special effects, and more.
Fonts
When you apply a font resource ID, the TextButton, TextLabel, and TextBox objects display text in a specific style and format.

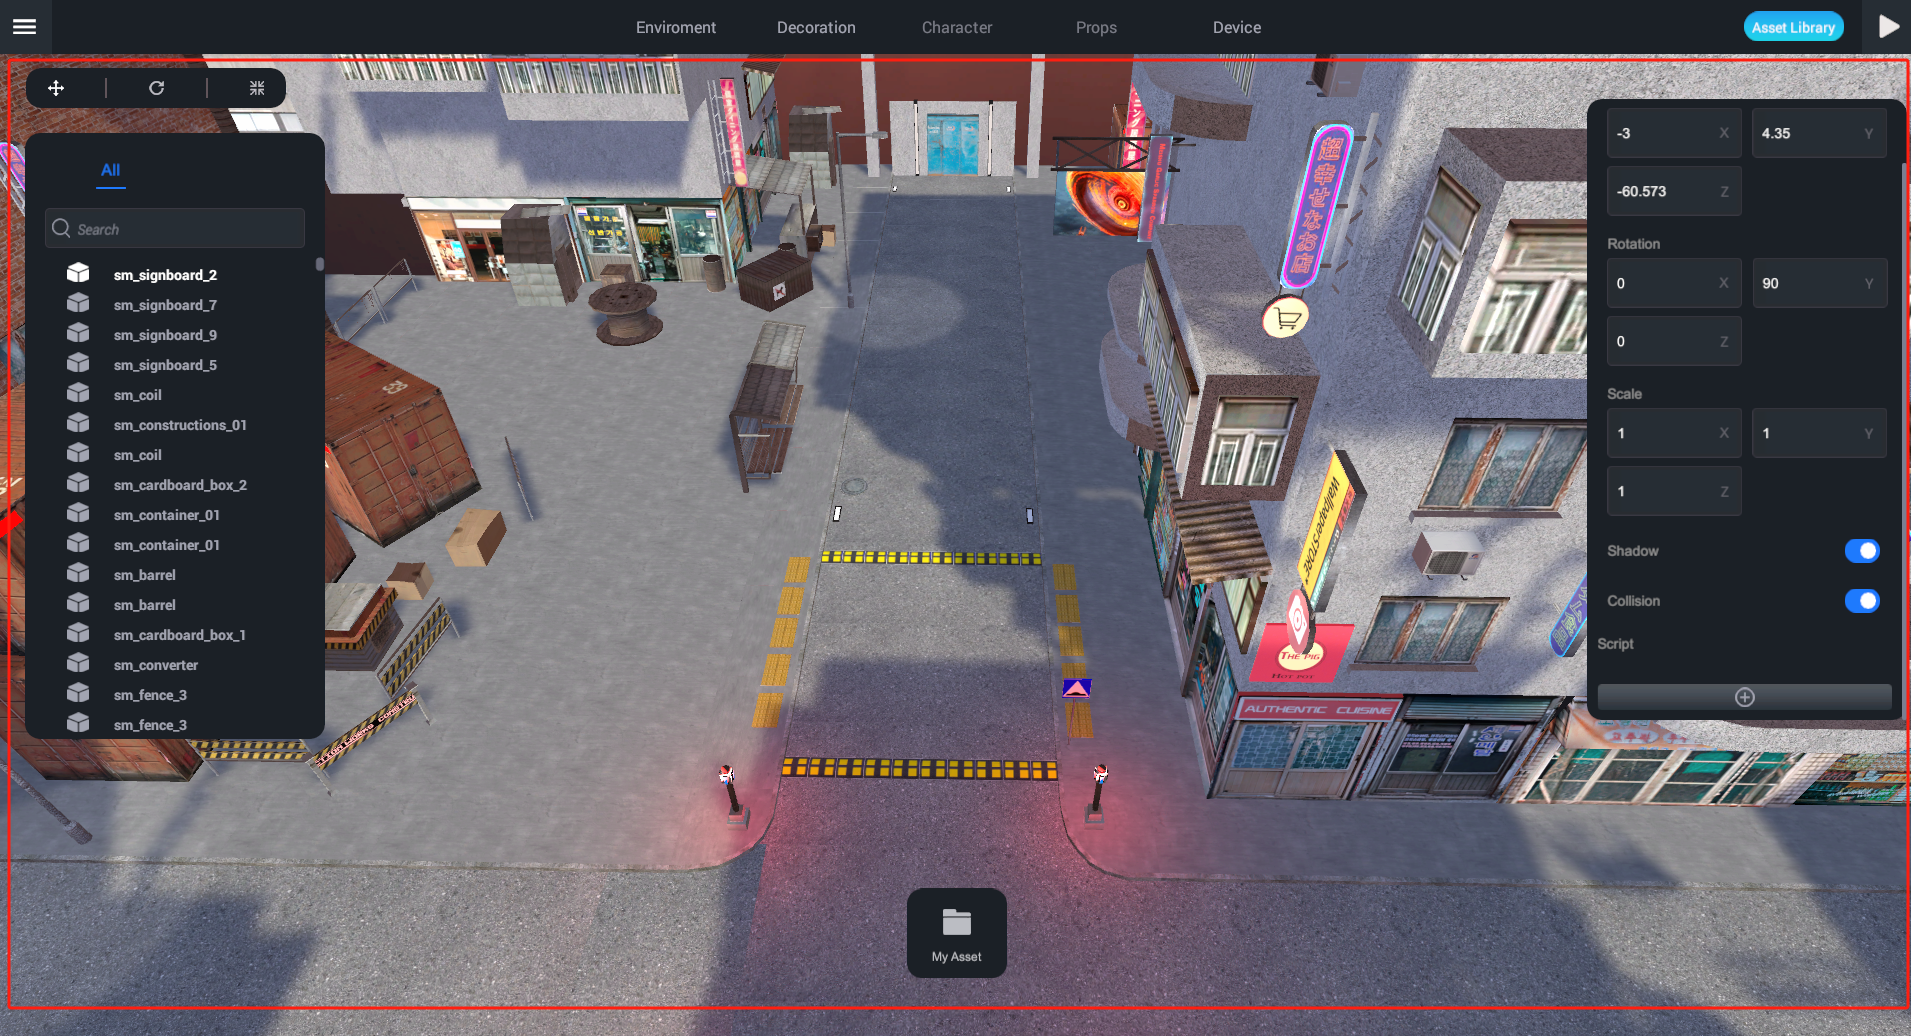
Properties
From the attributes panel, you can adjust the properties of the selected object. Object properties are divided into multiple parts; for example, sm_signboard_2 include "Rotation," "Scaling," etc.
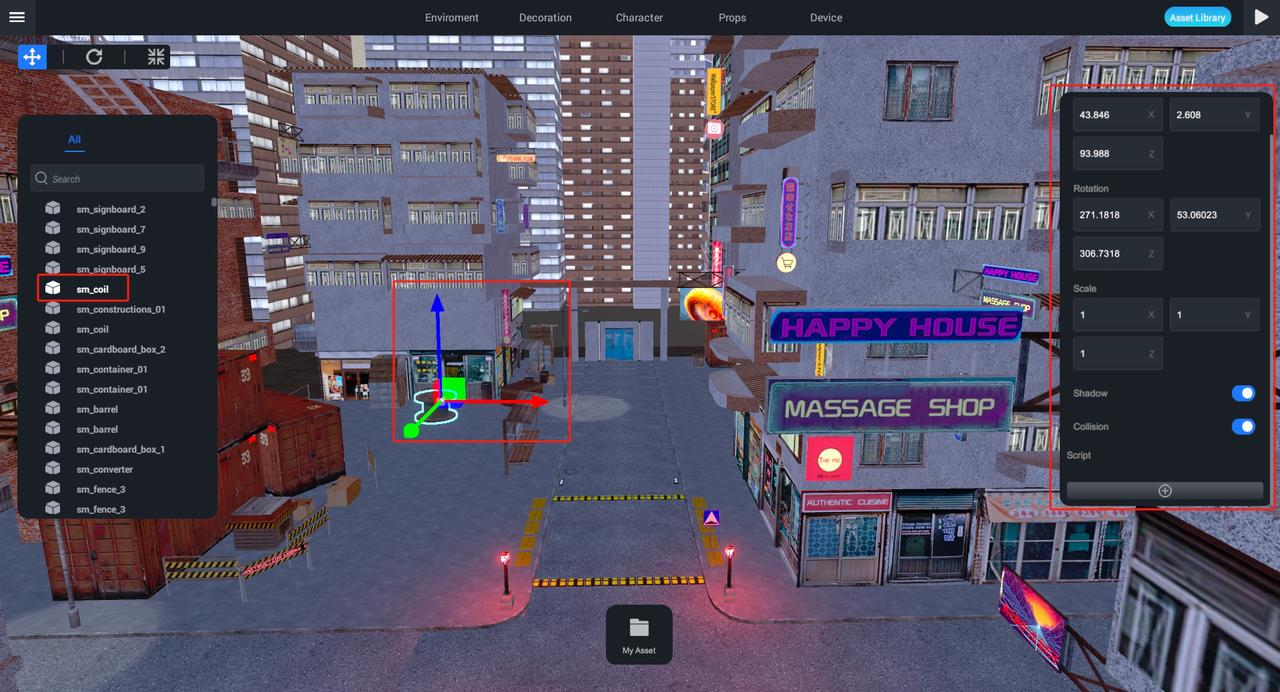
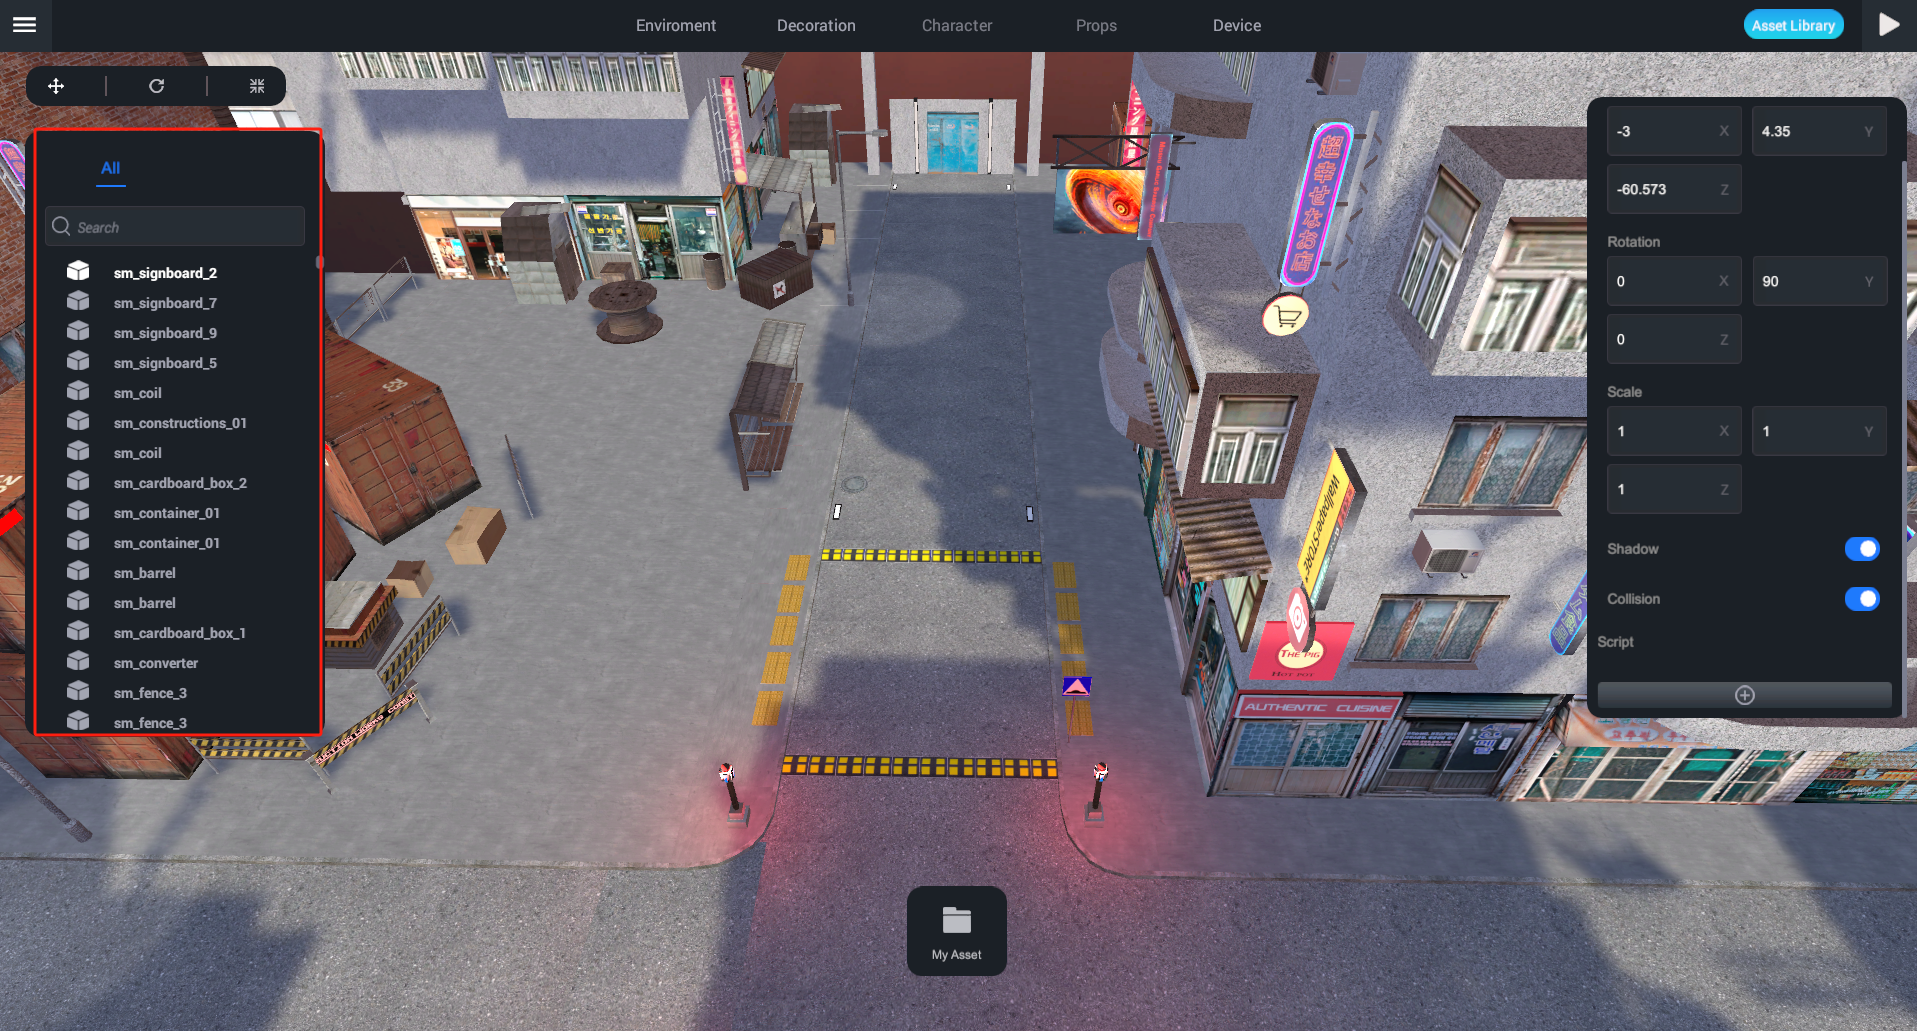
Project Manager
The middle area is where we can see the project's visual interface, and you can visually edit the project. The objects here are stored in the Project Manager.
You can see all the resources and services of the project in the Project Manager, including all objects rendered in the 3D world.
Command Bar and Output Box (Scheduled)
The output panel will display the editor status and the output of the script/command.
Whether it supports customizing the editor panel's position and size (floating window and draggable).
Choosing a suitable panel layout can achieve twice the result with half the effort.
Basic Shortcut Keys
W
Move camera forward
A
Move camera left
S
Move camera backward
D
Move camera right
Q
Pan down
E
Pan upwards
F
Focus on selected object
F5
Start or end Running the project
Shift
Used in conjunction with any movement key to change camera speed
Ctrl+S
Save project
Ctrl+C
Copy current selected object
Ctrl+V
Paste current selected object
Ctrl+G
Group current selected objects
Shift+Ctrl+G
Detach current selected object
Ctrl+Z
Undo current operation
Ctrl+R
Resource rename
Ctrl+L
Lock/anchor current selected object
Delete
Delete selected object
You can open the Editor settings to view more shortcut keys.
Last updated